
Last updated November 2, 2026
 Wrought iron
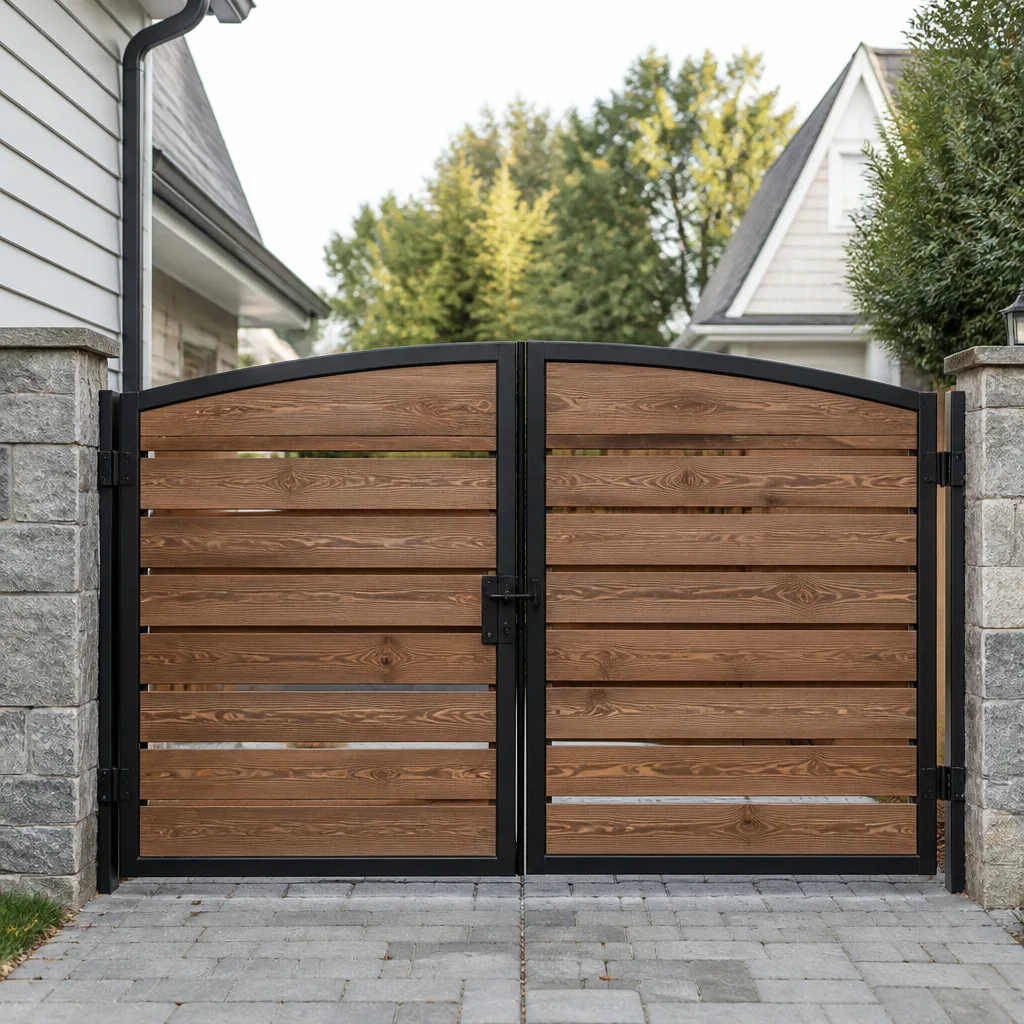 Wood & steel frame
 Farm & ranch
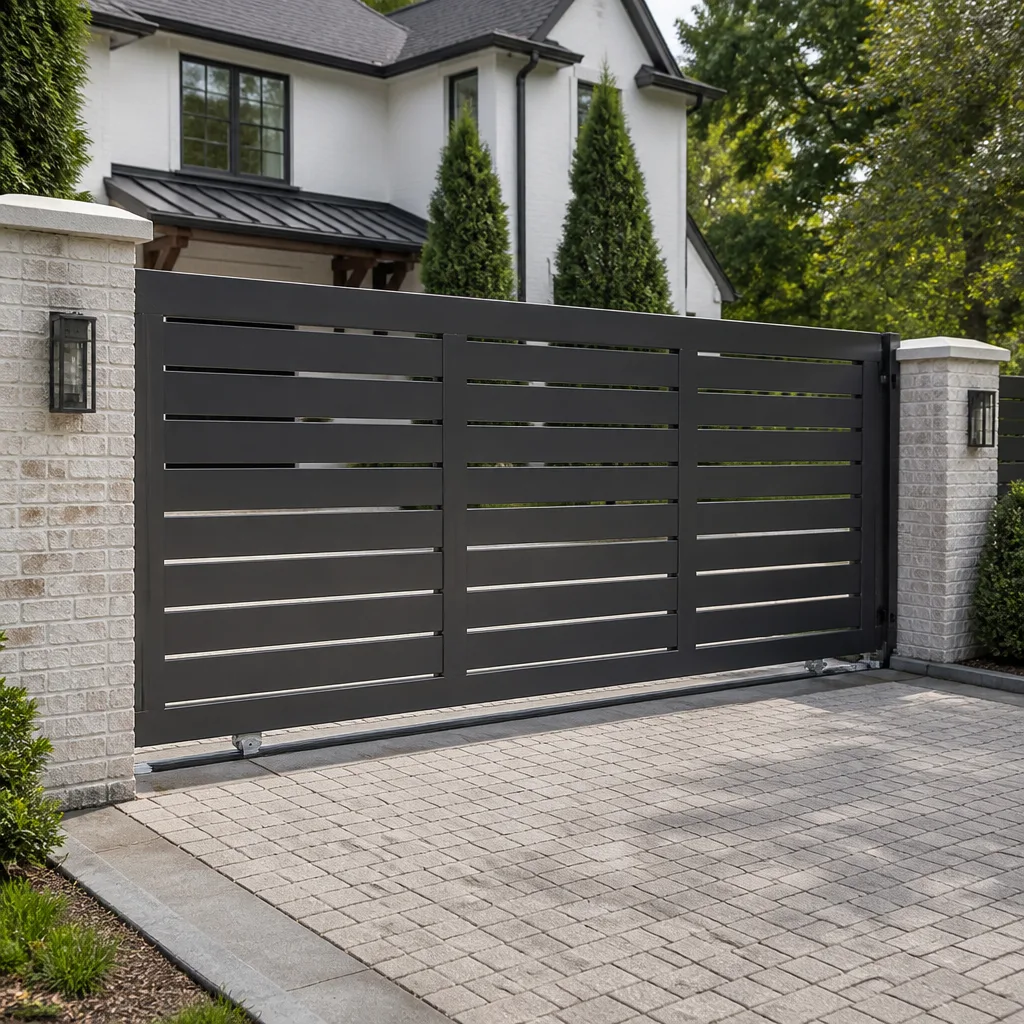 Sliding driveway gates
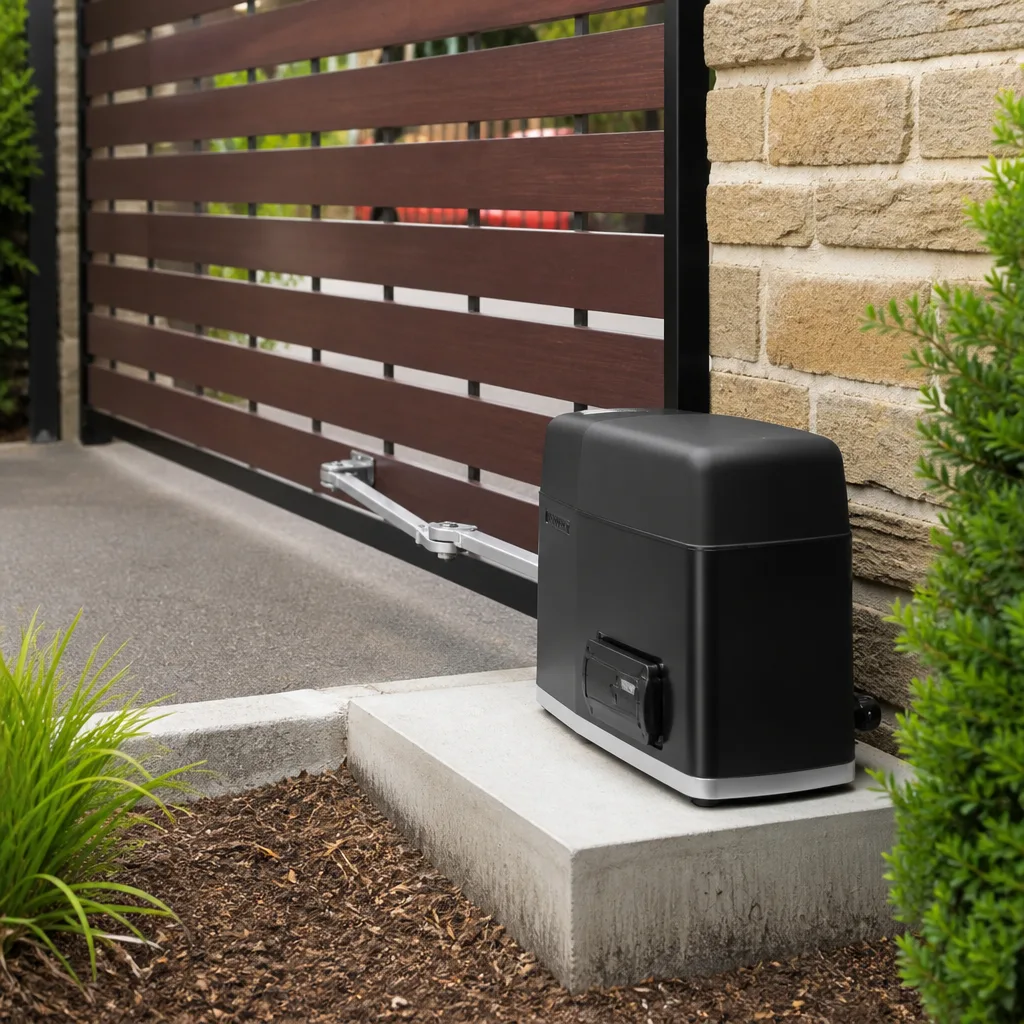 LiftMaster operators
Free on-site gate assessment - hinges, posts, and your LiftMaster or Nice gate operator checked before anything is quoted
The assessment is free and the quote is the invoice.
Get your free estimateGate Repair Troubleshooting: Common Problems and How to Fix Them
Most gate troubleshooting guides start at the wrong end. They list symptoms and throw parts at them. A gate that reverses before fully opening is almost never a sensor problem. It’s usually a limit switch that drifted, and replacing sensors (the common misdiagnosis) wastes $200 and fixes nothing. This guide works backward from what you see to the component that actually failed. We’ll walk through a diagnostic chain for stuck, slow, reversing, noisy, and dead gates, then show you which errors you can safely identify and which ones you should hand to our Gate Repair services. If you’re in Hemet, where summer heat and fine dust accelerate limit switch and sensor failures, knowing the difference saves you real money.
Quick Answer
Gate repair troubleshooting, as covered in our Gate Repair Warning Signs: A Hemet Homeowner’s Reference Guide, starts with identifying whether the failure is mechanical (hinges, rollers, chain, track) or electrical (operator, control board, power supply, sensors). Most stuck gates trace to a failed limit switch, dead battery backup, or misaligned photo eye – not a bad motor. Use a multimeter to check transformer output and battery voltage before replacing the operator. If the gate reverses mid-cycle, check limit switches first, not sensors.
Styles & brands we work with
- Wrought iron
- Wood & steel frame
- Farm & ranch
- Sliding driveway gates
- LiftMaster operators
Table of Contents
- The Symptom-to-Component Diagnostic Map
- Mechanical Failure vs. Operator Failure: How to Tell Them Apart
- Control Board, Transformer, or Battery Backup: Isolating the Power Fault
- LiftMaster, DoorKing, and FAAC Error Codes: What They Actually Mean
- Stuck Gate: The Five Most Likely Culprits
- Reversing Gate: Why It’s Rarely the Sensors
- Noisy Gate: Diagnosing by Sound Alone
- Common Mistakes to Avoid
- When to Call a Professional
- Frequently Asked Questions
The Symptom-to-Component Diagnostic Map
Every gate failure presents as one of five behaviors: it won’t move, it moves slowly, it reverses mid-cycle, it makes noise, or it ignores commands entirely. Each behavior points to a small set of possible failed components. Here’s the map we use on service calls in Hemet and the surrounding area:
1. Stuck (Won’t Move)
- Dead transformer: No power reaching the operator. Test with a multimeter.
- Failed battery backup: Common in gate openers that run on solar or experience frequent power dips.
- Seized hinge or roller: Mechanical binding prevents movement even with a healthy operator.
- Blown fuse on control board: Usually caused by a power surge or a short in accessory wiring.
- Engaged manual release: The operator is disengaged, so the motor runs but the gate doesn’t move.
2. Slow Operation
- Low voltage to motor: Undersized wire from a distant power source starves the operator.
- Worn capacitor: The motor can’t get the starting torque it needs.
- Dry or corroded rollers/track: Friction accumulates gradually until speed drops noticeably.
- Battery in low-power mode: Solar operators often throttle motor speed when the battery is near depletion.
3. Reversing Mid-Cycle
- Drifted limit switch: The operator thinks it hit an obstruction when the gate reached the wrong position.
- Misaligned photo eye: Only if the reversal happens consistently at the same point where the beam crosses.
- Failing obstruction sensor: Sends false triggers as it wears.
- Control board fault: Less common but possible on older Linear and Viking boards.
4. Noisy Operation
- Dry chain or belt: Needs lubrication or tension adjustment.
- Worn gear in operator: Grinding sound that worsens over weeks.
- Loose mounting bolts: Vibration noise that rattles the whole frame.
- Debris in track: Gravel or sand grinding against rollers. Common in Hemet’s dry, dusty environment.
5. Non-Responsive
- Dead remote battery: The simplest fix, always check first.
- Keypad wiring fault: Loose connection at the terminal block.
- Receiver board failure: The operator works manually but won’t respond to remotes or keypads.
- Loop detector fault: Exit loop doesn’t sense vehicles, or safety loop falsely detects an obstruction.
This map covers roughly 85% of what we see on Gate Repair in Hemet calls. The remaining 15% involves compound failures where two components interact, which is where brand-specific knowledge becomes the difference between a repaired gate and a callback.
Mechanical Failure vs. Operator Failure: How to Tell Them Apart
Before touching any electronics, confirm whether the gate itself moves freely without power. This is the single most useful diagnostic step and it takes about thirty seconds.
- Locate the manual release handle on the operator. On LiftMaster, DoorKing, and FAAC units, it’s usually a red lever or a pull chain near the motor.
- Disengage the operator so the gate moves by hand.
- Push the gate manually through its full travel.
- Note any resistance, binding, or scraping at specific points in the arc or along the track.
If the gate moves smoothly by hand, the problem is electrical. Motor, control board, power supply, or accessory. If the gate binds, drags, or sticks when pushed manually, the problem is mechanical. Hinges, rollers, track alignment, or the chain. On Electric Gate Repair in Hemet jobs, we see homeowners skip this step, buy a new operator online, and then discover the original motor was fine and the hinge post had settled out of alignment.
One thing to understand: a smart operator will fight against binding by drawing more current, which trips the overload protection. So a mechanical problem often presents as an electrical symptom. The gate stops mid-cycle and won’t restart until reset. The operator didn’t fail. It protected itself from a mechanical fault. Replacing the operator fixes nothing and the same overload returns within days.
Hemetspecific note: expansive clay soil shifts with moisture cycles. Gate posts move fractions of an inch over a few seasons. That’s enough to change hinge alignment and create binding that mimics an operator failure. We see this frequently on older manual gates that were later retrofitted with openers.
Control Board, Transformer, or Battery Backup: Isolating the Power Fault
When an operator is completely dead, the failure is almost always one of three components: the transformer, the battery backup, or the control board. Here’s how to isolate which one using only a multimeter.
- Test transformer output first. Set your multimeter to AC voltage and probe the transformer’s secondary terminals. Most residential gate transformers output 16-24 VAC. If you read zero, the transformer is dead. Replace it. This is a $20-$60 part and a fifteen-minute job.
- If transformer output is good, test the DC voltage at the control board’s power input terminals. Some operators convert AC to DC at the board. If AC is present but DC is absent or wildly low, the board’s rectifier section has failed. Replacement board needed.
- Test battery backup voltage separately. Disconnect one battery terminal and read DC voltage across the terminals. A healthy 12V battery reads 12.6-12.8V at rest. Below 12.0V, the battery is depleted. Below 10.5V, it’s dead and should be replaced. On solar-powered gate operators, a dead battery is the most common cause of a “dead” gate.
- Check the fuse. Many control boards have an inline fuse or a glass fuse near the power input. A blown fuse suggests a short downstream. Don’t just replace it without checking accessory wiring, especially keypads and photo eyes.
Here’s a table that sums up the diagnostic path:
- No AC at transformer: Bad transformer or no power to outlet. Check breaker first.
- AC good, no DC at board: Failed control board or blown fuse on board.
- DC good, battery low: Charging circuit failure or battery at end of life. Replace battery, then test charging.
- Everything reads good, gate still dead: Accessory short or board logic failure. Time to call a specialist.
On Gate Repair Hemet home service calls, we carry rebuilt and new control boards for LiftMaster, FAAC, BFT, Linear, Viking, Ghost Controls, DoorKing, Elite, and Mighty Mule. That brand depth means we isolate a board failure on-site instead of ordering a part and leaving the gate down for a week.
LiftMaster, DoorKing, and FAAC Error Codes: What They Actually Mean
Operator error codes confuse homeowners because the same code means different things across brands. Here’s what three common codes actually indicate, decoded from the perspective of someone who reads these daily.
LiftMaster Error Code 31
Most owners read “31” as a motor problem. It’s not. Code 31 on LiftMaster gate operators indicates the gate did not reach the closed limit switch within the expected time, which usually means a mechanical obstruction, a drifted limit, or a failing capacitor. The motor rarely has anything wrong with it. Check the track, check the limit, check the capacitor. In Hemet, accumulated debris in the track is the most common cause of Code 31.
DoorKing Error Code 3 Beeps
Three beeps on a DoorKing 9150 or 9100 indicates the entrapment sensor (photo eye or edge sensor) has been triggered. It is not a board failure. The operator is protecting pedestrians. Check for obstruction, clean the photo eye lenses, and verify alignment. If the beeping continues, the sensor itself has failed and needs replacement, not the board.
FAAC Error Code E1
On FAAC 400, 412, and 750 operators, E1 means a motor or encoder fault. It can indicate a seized motor, a failed encoder, or a wiring issue between motor and board. Start by disengaging the operator and moving the gate manually. If the gate moves freely, the motor or encoder is likely at fault. This is a job for a technician who knows FAAC systems specifically – we work on these units regularly in Hemet.
One pattern worth noting: error codes are symptoms, not diagnoses. A sensor code can appear because a wire is pinched, not because the sensor died. A motor code can appear because low battery voltage made the motor draw excessive current. We approach every code as a starting point for diagnosis, not a parts list.
Stuck Gate: The Five Most Likely Culprits
A stuck gate is the most frequent call we take in Hemet. Here’s the order we check, from most likely to least:
- Manual release is engaged. This happens more often than you’d think. Wind, kids, or a curious neighbor pulls the release and the operator runs but the gate sits still. Check the release lever first. It’s a thirty-second fix.
- Dead transformer or tripped breaker. Check the outlet or breaker that feeds the operator. In Hemet, dust storms and lightning can trip GFCI breakers feeding outdoor gate circuits.
- Seized roller or hinge. Disengage the operator and try moving the gate by hand. If it won’t budge, the mechanical hardware has seized. Lubrication may help short-term, but a seized roller usually needs replacement.
- Failed capacitor. The motor hums but doesn’t turn. A capacitor that’s lost its ability to hold a charge can’t provide the jolt the motor needs to start. This reads as a “dead” motor but is a $15-$40 fix.
- Control board logic lock. After repeated overloads or power surges, some boards lock out operation until reset. Disconnect power for 30 seconds, reconnect, and try again. If the gate runs once then stops again, the board is seeing a fault from somewhere downstream.
If the gate is stuck open or closed and you can’t move it manually with the release engaged, don’t force it. Forcing a seized gate can bend the rack or shear the pinion gear, turning a $100 repair into a $500 repair. That’s the wrong time to get creative.
Reversing Gate: Why It’s Rarely the Sensors
We started with this hook and we’ll expand it here. A gate that reverses before fully opening or closing is one of the most misdiagnosed problems in the industry.
Here’s the diagnostic chain:
- Watch exactly where the gate reverses. If it reverses at the same position every cycle, that’s a limit switch problem, not a sensor problem. The limit switch has drifted or failed and the operator thinks it has reached the end of travel when it hasn’t.
- If reversal happens at random positions, check the photo eyes. Misaligned lenses, dirt on the lens, or sun glare (common in Hemet’s intense afternoon sun) can trigger false obstruction readings.
- Check the entrapment edge sensor if the gate has one. These rubber strips with internal pressure switches fail with age. A false trigger from a worn edge sensor will make the gate reverse unpredictably.
- Check the clutch or force settings. If the operator’s force setting is too low, the gate will trigger an obstruction response under normal load. This is especially common in hot weather when thermal expansion makes the gate slightly harder to move.
The sensor misdiagnosis costs homeowners real money. We’ve replaced photo eyes on Ghost Controls and Viking operators only to find the limit switch was the original problem. The sensor replacement “worked” temporarily because disconnecting and reconnecting the wiring reset the board, which briefly cleared the limit error. Then the reversal returned.
If you replace sensors yourself and the reversal persists, you now have new sensors plus the original limit switch problem. You spent $200 you didn’t need to spend and the gate still doesn’t work right. That’s the exact scenario this guide exists to prevent.
Noisy Gate: Diagnosing by Sound Alone
You can diagnose a noisy gate with your ears if you know what to listen for. Here’s a field guide:
- Squealing or squeaking: Dry metal-on-metal contact. Usually the chain or belt needs lubrication, or a hinge pin is dry. On chain-drive operators, this is regular maintenance, not a failure.
- Grinding: More serious. A grinding sound from the operator usually means gear wear inside the motor housing. On DoorKing and Elite slide operators, the primary gear set can wear after years of use, especially if the gate was ever over-tensioned.
- Rattling: Loose mounting hardware. Check the operator mounting bolts, the gate hardware, and the track fasteners. Vibration loosens hardware over time, especially on gates that cycle frequently.
- Scraping: The gate is dragging on something. Look at the bottom of the gate, the track, and the post clearance. Hemet’s sandy soil can build up under the gate path and cause the bottom of the gate to scrape.
- Humming with no movement: The motor is powered but not turning. Bad capacitor or mechanical seizure. Don’t let it hum for long – you’ll burn out the motor windings.
Noise that changes or worsens over time is a warning sign. A slightly noisy gate that hasn’t changed in years is probably fine. A gate that got noticeably louder over a few weeks is telling you something is wearing out. Addressing it early keeps a $60 bearing replacement from becoming a $500 gearbox rebuild.
Common Mistakes to Avoid
- Replacing the operator before checking the transformer. A dead transformer kills an operator just as effectively as a dead operator kills the gate. Test the transformer first. This mistake doubles the repair cost.
- Using WD-40 on chains and hinges. WD-40 is a water displacer, not a lubricant. It strips existing grease and accelerates wear. Use white lithium grease on hinges and a proper chain lubricant on chain drives.
- Forcing a seized gate. Applying motor force or a vehicle to a gate that won’t move manually bends metal. Bent racks and sheared gears are the result. Disengage first, then diagnose.
- Adjusting limit switches without understanding the sequence. On LiftMaster and FAAC operators, limit adjustment is sequential. Turning the wrong screw first throws the entire calibration off. You’ll create a new problem while trying to fix the old one.
- Replacing photo eyes without testing alignment first. Dirty or misaligned eyes get replaced unnecessarily. Cleaning and realignment takes five minutes and costs nothing. Hemet’s dust makes lens cleaning a routine part of gate maintenance.
- Ignoring a slow gate. A gate that’s getting slower is accumulating damage. Low voltage, worn capacitor, or failing bearings don’t improve on their own. The longer you wait, the more components fail in sequence.
- Mixing brands in a retrofit. Installing a non-matching receiver, keypad, or board into a LiftMaster, DoorKing, or FAAC system can work temporarily and fail spectacularly later. Brand-matched parts are the only reliable repair path.
When to Call a Professional
Here’s the honest truth: some repairs are straightforward for a homeowner, and some are not. A dead remote battery? You’ve got that. A blown fuse? Probably. A control board that’s sending false obstruction signals? That’s where brand knowledge matters. If the gate has a DoorKing, LiftMaster, or FAAC operator with a complex error code you can’t decode, or if the issue involves the motor, gearbox, or safety sensor wiring, a specialist saves you time and prevents follow-up failures. Gate Repair Hemet offers free estimates in Hemet and the surrounding area. Call (866) 321-6910 and we’ll tell you whether it’s a call worth scheduling or a fix you can handle yourself.
Frequently Asked Questions
Disconnect power to the operator for 30 seconds, then restore power. Most LiftMaster, DoorKing, and FAAC operators will run a self-check and resume normal operation. If the gate doesn’t resume automatic function, check the manual release is not engaged and that the limit switches are still properly set. If it stays unresponsive, the control board may have been damaged by the surge.
A humming gate operator usually indicates a failed starting capacitor or a mechanical bind. Test by disengaging the manual release and trying to move the gate by hand. If the gate moves freely, the capacitor is the prime suspect. If the gate is stiff, the bind is mechanical. Letting it hum for more than a few seconds at a time will damage the motor.
Minor repairs in Hemet like transformer replacement, limit switch adjustment, or photo eye cleaning typically run $80 to $180. Board replacements run $300 to $700 depending on brand, and full operator replacement starts around $1,200 installed. The best way to get an exact number is to call (866) 321-6910 for a free estimate. We quote the price before any work begins, so there are no surprises.
If you’re comfortable with a multimeter and screwdriver, board replacement is possible on many residential operators. But board replacement only fixes the problem if the board was actually the original failure. If a short in the keypad or sensor wiring killed the first board, the new board will fail the same way. We see this often enough that we recommend having a technician verify the root cause before you spend money on a new board.
Yes. Solar gate operators in Hemet are common, and they fail differently than wired units. The battery is the most common point of failure, followed by the solar charge controller. We test the panel output, battery health, and controller function to isolate which component is actually dead before recommending replacement.
Hemet’s heat and dust make annual service the smart baseline. We recommend checking lubrication, limit switch calibration, photo eye alignment, and battery health once a year. If the gate runs a commercial cycle count (more than 15 cycles per day), service every six months prevents most surprise failures. A $150 service visit catches the capacitor that’s about to fail or the hinge that’s starting to bind before they become repair bills.
The Bottom Line
Gate troubleshooting works best when you think in terms of components, not symptoms. Start with the manual release test to separate mechanical from electrical. Test the transformer and battery before suspecting the operator. Decode error codes as clues, not verdicts. Avoid the sensor-replacement reflex on reversing gates. And know when the repair has moved past what’s safe or practical to do yourself. For more guides & resources, explore our blog. If the gate is down and you’re not sure what you’re looking at, call (866) 321-6910. We’ll tell you honestly whether it’s a five-minute fix or a real repair. No guesswork, no unnecessary parts, just a gate that works again.
Written by the team at Gate Repair Hemet, serving Hemet since 2012.
See the difference
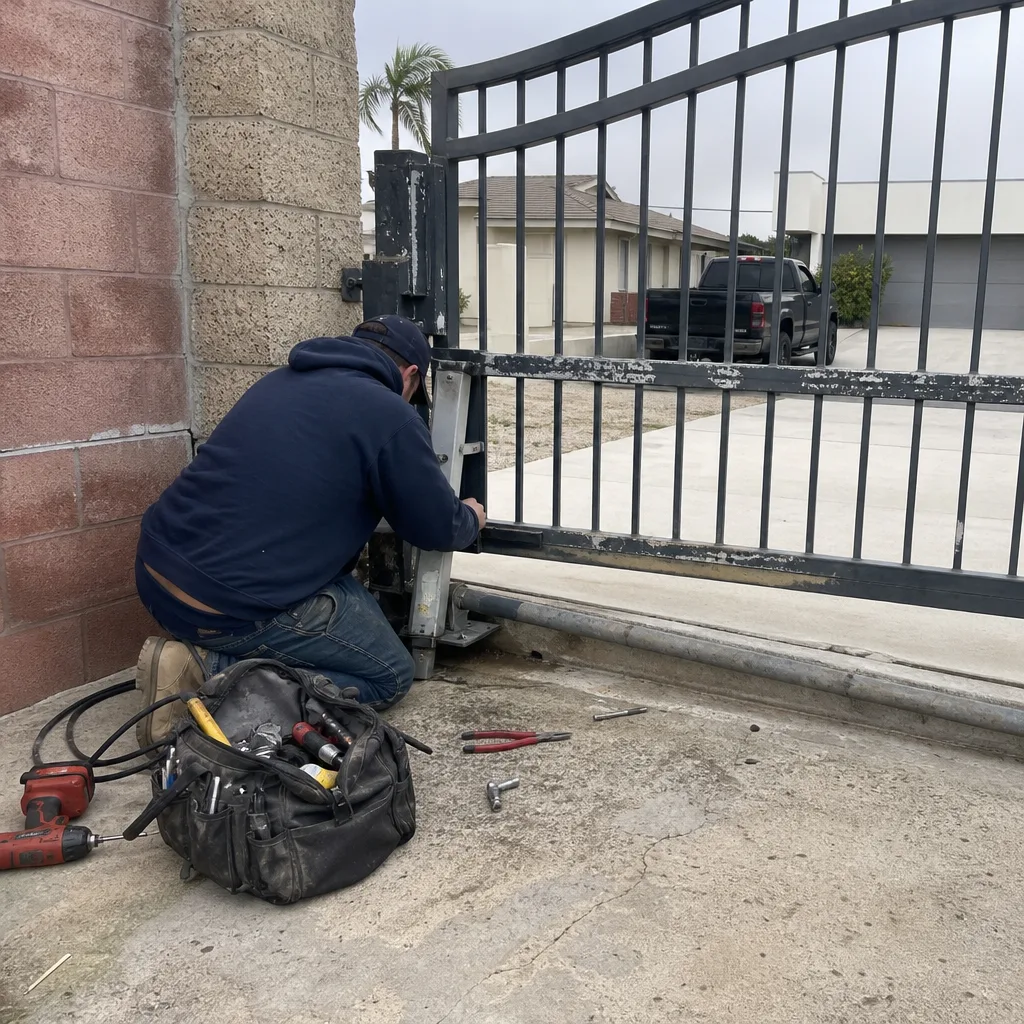 Before
 After
 Before
 After
 Before
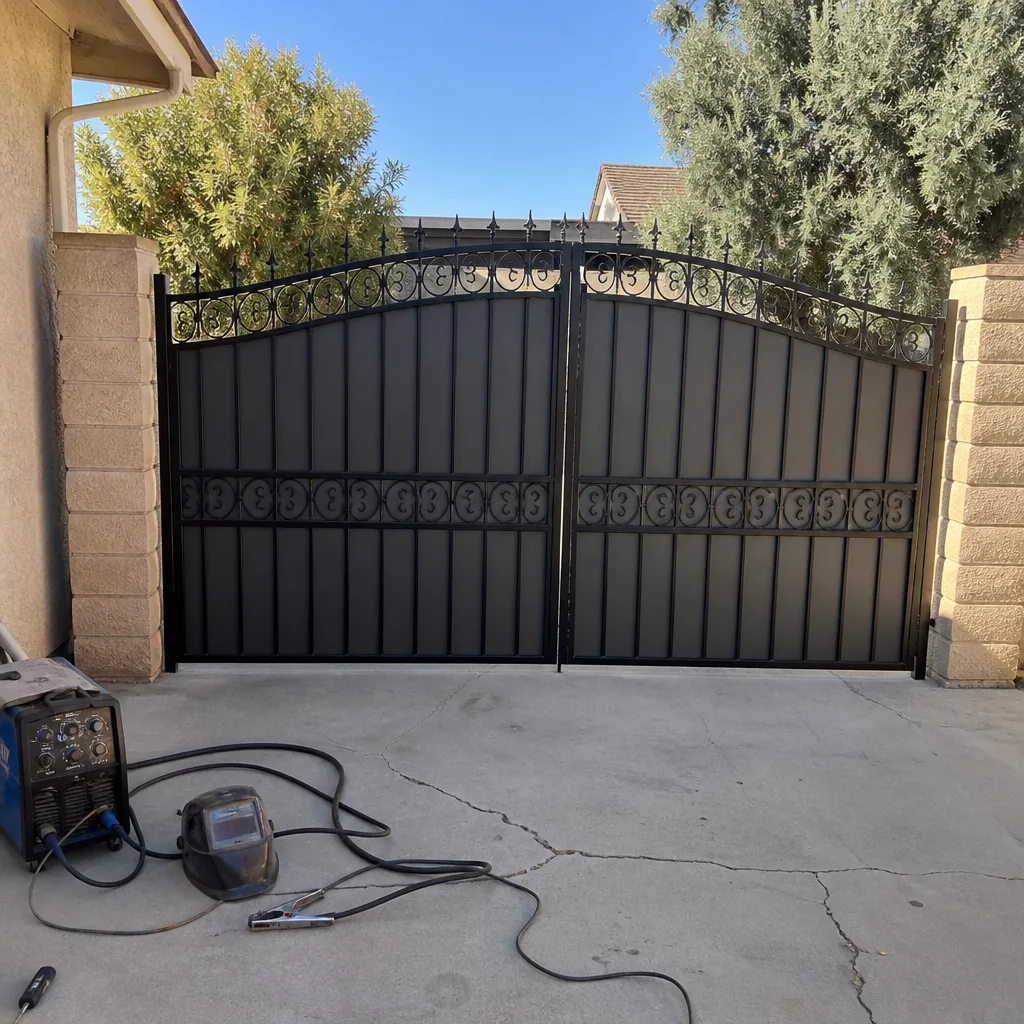 After